Showing posts with label home improvement. Show all posts

Friday, February 25, 2011

Friday Roundup

Little Bean turns 4 months old tomorrow.

On one hand, it's sort of funny that she's only 4 months old because it feels like she's been here forever. On the other hand, HOW IS MY BABY 4 MONTHS OLD ALREADY?

Quite the conundrum. I'm excited to see how much she weighs at her 4 month appt on Monday... I'm guessing she's at least 15 lbs. The baby/car seat combo is getting pretty heavy. And by pretty heavy I mean holy crap, at least I don't have to go to the gym to get an arm workout.

At 4 months postpartum, I'm down 54 lbs and have just 6 to go to reach my pre-pregnancy weight! I'm feeling pretty good about this. Nope. I'm actually feeling f-ing amazing about this. Yesterday one of my supervisors stopped me in the hallway and told me that I "didn't look like I just gave birth". All I have to say is Thank you, Weight Watchers. And breastfeeding.

I didn't really talk a lot about how I was going to feed Little Bean, mainly because I didn't want to make any huge statements and then have it not work out or something, but nursing came pretty easily to both of us and I am possibly part cow. Or mostly cow. And I think it really helped take off the weight. Yeeeeeeeeeeeeeeeeeeeey!

We're doing our taxes this weekend and it looks like we're going to break even. Thank GOD because the $1K we owed last year kind of sucked. Know what not owing means? Our house fund gets to keep that $1K I thought we were going to owe this year.

And I got a letter in the mail yesterday from the car loan people. Apparently GAP insurance is calculated for the length of the loan and split evenly amoung the payments, and so by paying off our loan 16 months early, we also paid 16 extra months of GAP insurance. And they want to send us a check to reimburse us for that 16 months of GAP insurance that we don't need. Hotness.

And finally, we're going to sign our lease again for at least 15 months. I want to sign it for 2 years but that wasn't an option on the renewal form, so we're going to see about that this weekend. I'd love to lock in a monthly rent payment so I don't have to worry about it going up (um, like it did on this renewal... which we'll also be talking about with them this weekend). And I decided that since we're going to stay put for 2 years, we're going to do some work around the house. Before & after pics to come as we find time to paint and get some new curtains up.

Oh, and in case you were wondering.... the check was misplaced.

Monday, February 22, 2010

Weekend Renovations

Ryan was at work all weekend, leaving me with lots of spare time on my hands. I've been getting a little antsy with our downstairs space, so I decided to move some stuff around to see what I could come up with. Exactly $0 later (trust me, I had lofty ideas of perusing Ikea for some fun new stuff, but chose to not leave the house today), I had a fun new layout that I'm pretty thrilled with.

Remember the big dining room reveal from the fall? Here's what I started out with today:
Some an hour and some heavy pushing later, I ended up with a fancy little book nook and much better traffic flow:

And look at my new fancy candle holder! The hurricane is leftover from our wedding, and the rice came from our kitchen cabinet. That sweet little H votive holder is from Yankee Candle - purchased at half off during an after-Christmas sale. And here's the new and improved dining room:
I happened to have a bookcase in our den that matches our table, so I pulled that in and switched out the red console table (it ended up in my book nook). Now I can store my cookbooks near my kitchen (instead of upstairs in the den) and I have some extra spece to display our wedding album and my glass pitcher of wine corks.

That brown accent wall still looks a bit bare to me, though, and I'm thinking I want to hang something there to really pull the room together. A large print? Another big mirror? Some shelves? What do you think? Do I need something on that wall - and if you think I do, what did you have in mind? I'm stumped!

Thursday, December 3, 2009

Welcome....

... to the best $8 I ever spent. Oh, and my home. I'm not into the huge wreath hanging on the front door (Ok who am I kidding - I would LOVE a huge wreath, but I'm too cheap to spring for the $60 red berry one I really want, and I refuse to half-ass a front door wreath... so I just don't have one) but I wanted something to make our home stand out a little bit. Enter LeenTheGraphicsQueen (on Etsy, obv.) and her fabulous $8 Welcome door decal:

It looks especially nice from the sidewalk. The decal went on smooth, looks like it's hand painted, and is weather proof. And I wanted here for Thanksgiving (but ordered it the Friday before) and she sent it Priority Mail to ensure that it would be here on time to welcome in my guests. All for $8 (plus shipping). I know you want one.... here's the link. And if you head over there, tell her I sent you. I'm all about sharing the Etsy love.

Sunday, November 22, 2009

Dining Room Reveal

I figured it was time to show off the weekend of painting we did in our little townhouse! Here's the before:

And here's the after:


We used Valspar paint in Lyndhurst Rich Brown on the back wall and moved our wedding collage to right above the console table. I'm thinking maybe the table needs a nice runner down the middle; what do you think? I'm also contemplating a "faux mantle" but that's a project for another day.

And hey, did you spot the console makeover? Here's what it used to look like - a $10 real wood table I picked up in Indiana at a grocery store when we moved into our first apartment:

And here it is, all made over in Valspar paint color Spanish Tile and a new leaf drawer pull:


We were trying to decide between the Spanish Tile and the Rich Brown, so we got little samples ($3 at Lowes) and threw some on the wall. The Spanish Tile is really rich, and I thought it might be a little overpowering for our little downstairs. I'm really glad we went with the brown, but love the Spanish Tile on the console table!
All in all, this project wasn't cheap but I feel like it adds a TON of style and makes our rental a little less "rental". Next up - the living room! With the newly painted dining room wall, I felt the living room needs a little something extra as well. I'm waiting on something to arrive from Etsy, so as soon as that's here and I get it put up, I'll do a before and after in the living room, too!

Thursday, November 19, 2009

Padded.

I've been talking about building a padded headboard for MONTHS now, and I'm proud to say we can cross this one off the To Do list! A few of you have mentioned that you want to do one of these, so I took pictures of every step and included a cost break down - mainly so you don't have sticker shock over the price of foam, too.

Materials:
Plywood - We had Lowes cut the sheet down to 30" x 60" (they do 2 cuts for free).
2" thick foam - You will shit yourself when you find out how much foam costs.
Batting - We used the cheapest they had.
Fabric - Something nice and sturdy. We used upholstery fabric.
Staple Gun and Staples
Spray Adhesive

Instructions:

Step 1: Assemble all materials.


Step 2: Cut foam to fit plywood. Use spray adhesive to attach the foam to the wood so that it doesn't shift around. I used the cheapest spray adhesive I could find, and it works fine. The tricky part is getting the adhesive to sit on the foam instead of getting soaked in - spray the wood and lay the foam on top. Smoosh it down. Let it dry for 10 minutes and see if it's stuck. If so, move on. If not, use more adhesive!


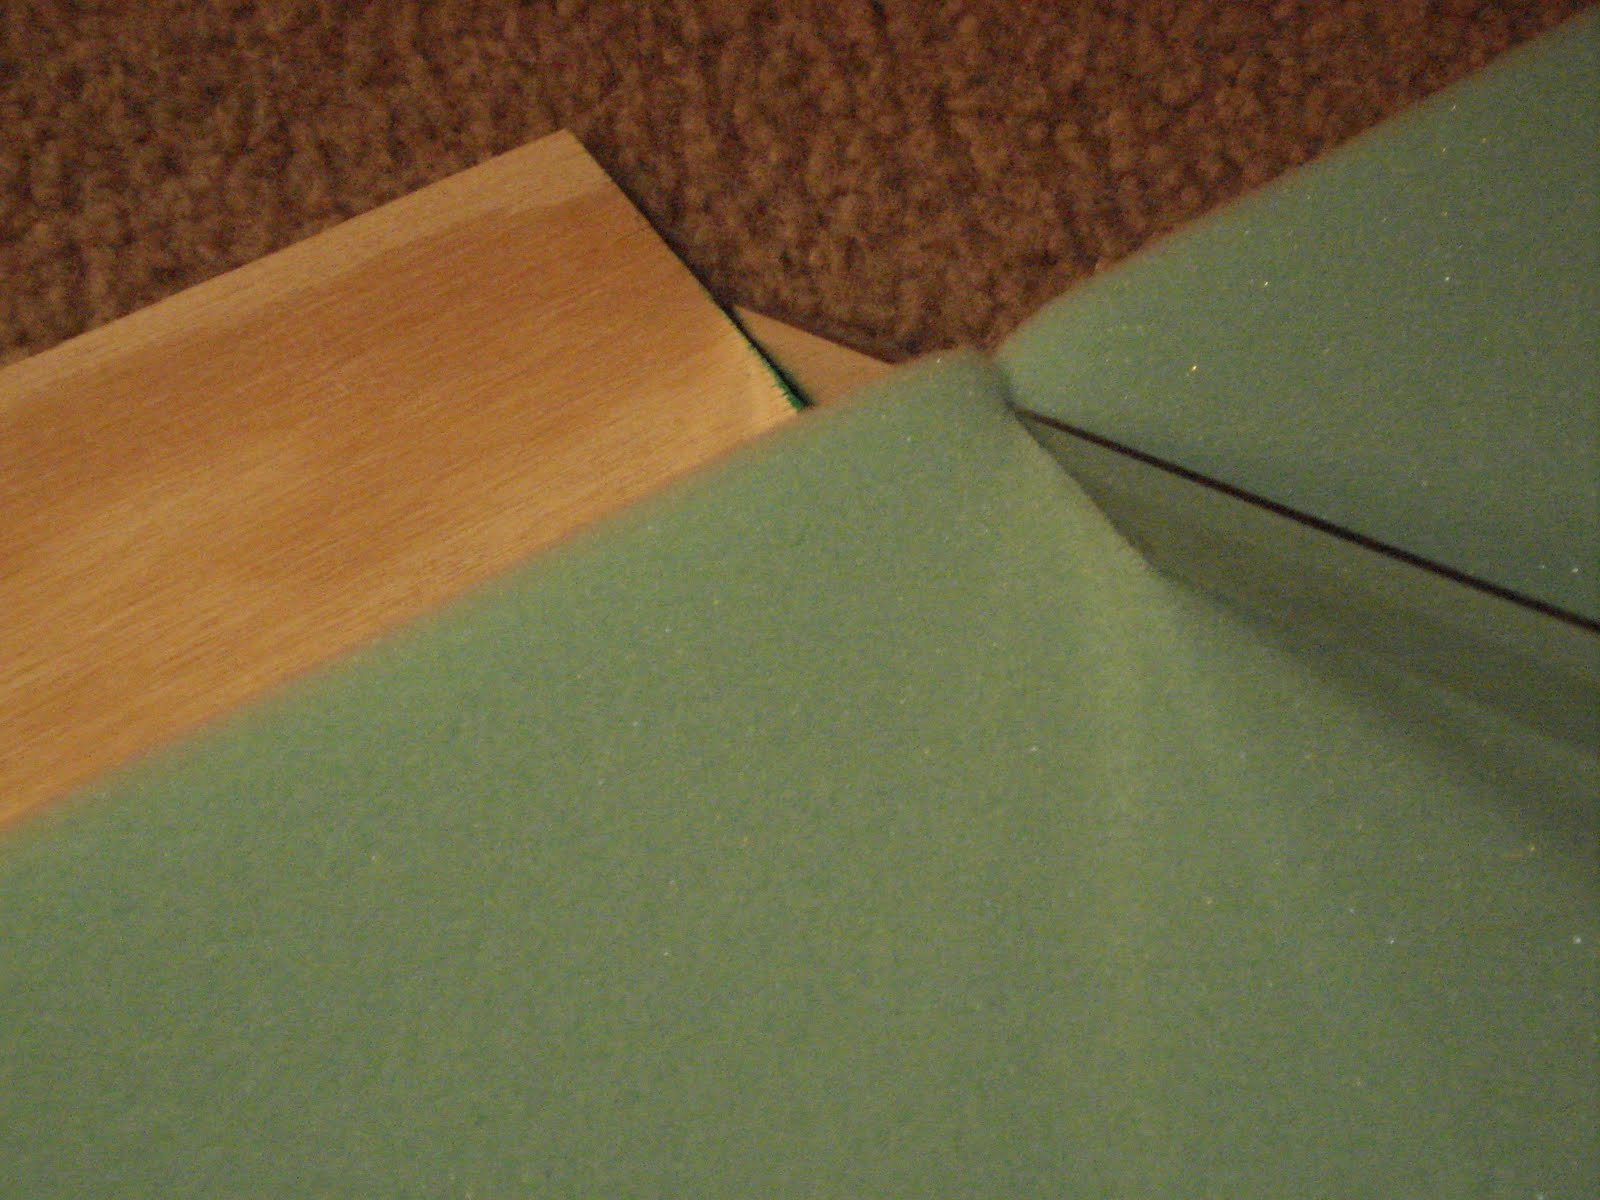
Step 3: Lay the batting on the floor, and lay the plywood foam-side down. Use the staple gun to tack down the batting. The front will look like this:
And the back will look like this:

Step 4: Do the same thing with the fabric. Here's what we picked:

Step 5: Hang it! We used a Z Hanger, which I highly recommend.


I apologize for the heinously crappy pictures. I'm hoping Santa brings me a new camera (or some Best Buy gift cards) for Christmas!
While this is a pretty simple project and ends up to be loads cheaper than purchasing a custom made headboard, it's not "cheap" by any means. Well, unless our versions of cheap are drastically different. But assuming you thought plywood was like $10 and foam was roughly the same, you're in for a bit of a shock. Here was our breakdown:
Plywood: $14.45 for a huge piece. They cut it for us in the store
18" Hangman Z Hanger: $11.97
2 Yards of Batting: $3.58 total
2" Thick Foam, 2.5 Yards: $36.21 total (this is the sale price - it's really $28.99 a yard!!!!!!)
2 Yards of Fabric: $29.98 total (sale price - real price is $30/yard)
Spray Adhesive: $6.99
We got everything at Joann Fabric, and happened to catch a HUGE sale. Foam and batting were 40% off and all of the fabric was 50% off. I also happened to have a coupon for an additional 10% off all regular and sale price items. Score.
The total out of pocket expense for the headboard materials was $103.18. My receipt says that I saved $76.32!! We could have scimped on the foam. Did we need 2 inch thick foam? No, but it looks nice and makes the headboard extra sturdy. Did we need upholstery fabric? No, but again, it's sturdy and reaaaaaaally looks nice.
So that's that. A custom headboard for an hour of time and $100 bucks! Anyone else build one of these suckers?

Sunday, November 15, 2009

Status Update

It's 7:15 on Sunday night, and so far we've managed to build a custom headboard, paint our accent wall, refinish a console table, and hang the huge mirror I scored on CraigsList for $35 over couch.

Given the fact that I'm newly in love with the fabulous brown we chose for the accent wall, I'm not sure we're going to do the shelving on that wall as I had originally planned, but we'll see.

We've still got another coat on the accent wall to go, and then the whole downstairs needs to be put back together. Work tomorrow is HIGHLY iffy at this point in time :-)

Saturday, November 14, 2009

Home Improvement?

This weekend's projects include:

  • Painting an accent wall in the dining room

  • Installing floating shelves on the newly painted wall

  • Building a fabric headboard


I'm just waiting on Ryan to get home from work, and then we're going shopping. We've got a wallet full of Lowe's, Ikea, and VISA gift cards... think we can do it all without spending any actual money? I'll report back in a bit!!

Here's a before for ya:

Wednesday, October 14, 2009

Dining Room Make Over: Help

Here's a shot of my dining room:
Please excuse the crap on the table and the mismatched console table. That console table is going to be my first refinishing project, which is where you come in (wow, so soon!). What color should that be? I suppose I could sand it all the way down and hope it matches the table and entertainment cart, but I don't think that it will... so what shall I do with it?
But the real question here, folks, is what color do I paint the walls? I'd really love to do the whole downstairs one color, but I don't think we can because here's what the other side of the room looks like: Not terrible... but here's what's at the end of the couch:
A wall that goes right up the stairs to the ceiling. Yes, right where the stairs start, the wall just goes straight up 2 stories. It looks nice, yes, but I don't have the skill to tape off the ceiling (and remember, we rent - I'm not paying someone to do this).

Side note - I realize the frames above the couch don't really "go". That's because we just did some rearranging and didn't move them yet. I have a HUGE mirror that's going over the couch, I just need a stud finder to hang it.
So here's the dilemma - what can I do about painting if I can't pain the wall behind the couch? Is it going to look majorly stupid if I just do the east/west walls and not the 2 end walls (behind the couch and the wall behind the dining room table)?

I'm at a loss.... help!

Tuesday, July 21, 2009

Headboard, revisited.

Two days ago I found this:

And I loved it. Check it out on (where else) Etsy because it's awesome, and I was 30 seconds away from calling off the search for the perfect headboard and slapping this up on the wall.

But last night I was on CraigsList and I found this:

I immediatley sent an email to the seller, and just got confirmation that we can come pick it up ASAP. I'm hoping we can get there tomorrow, but we've already got a date to pick up another CraigsList find - a HUGE mirror framed in solid wood for $35. Oh, and the wrought iron headboard and footboard? $50. Love you, Craigs List!

**The picture is from CraigsList and I refuse to give you the link, lest you try to steal my headboard :-)

Saturday, July 18, 2009

Best $599 I would ever want to spend.

Today we went to a furniture warehouse and I am currently in love with this pull-out queen size sleeper sofa:

Here's the best part though - it comes in red:

Our current living room colors are taupe and dark brown with lots of cranberry accents. I'm imagining this sleeper sofa in red, with my dark brown leather chair and tan throw pillows. Sigh.

The best part of this whole scenario would be getting rid of the futon we have in the upstairs den (the future site of our nursery) and still having an extra bed for guests. Unfortunately, my dream couch is $599. That would be a full $599 that I do not have. I guess I could CraigsList my futon to see how much I could get and go from there, but should I not get $599 for it, then I'm out a futon and a red sleeper sofa.

Damn you, red sleeper sofa! Please come live at my house. Please.