


Materials:
Plywood - We had Lowes cut the sheet down to 30" x 60" (they do 2 cuts for free).
2" thick foam - You will shit yourself when you find out how much foam costs.
Batting - We used the cheapest they had.
Fabric - Something nice and sturdy. We used upholstery fabric.
Staple Gun and Staples
Spray Adhesive
Instructions:
Step 1: Assemble all materials.


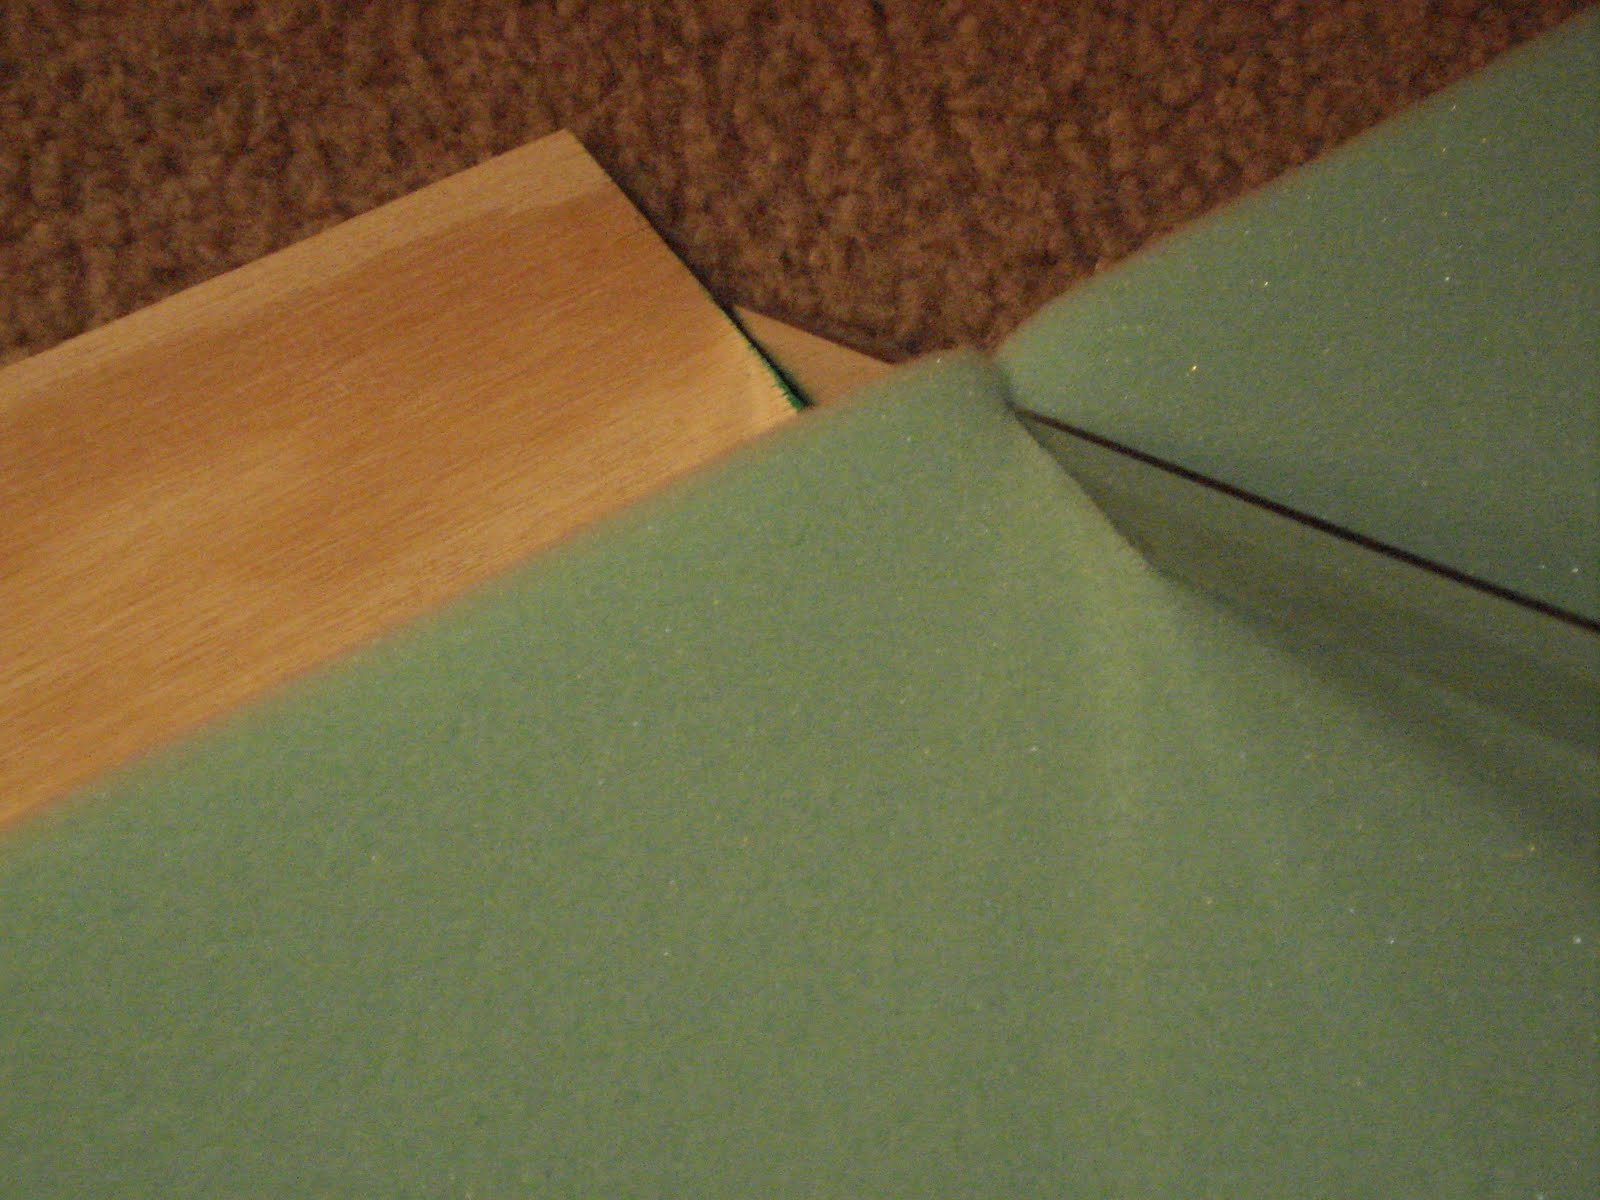
Step 2: Cut foam to fit plywood. Use spray adhesive to attach the foam to the wood so that it doesn't shift around. I used the cheapest spray adhesive I could find, and it works fine. The tricky part is getting the adhesive to sit on the foam instead of getting soaked in - spray the wood and lay the foam on top. Smoosh it down. Let it dry for 10 minutes and see if it's stuck. If so, move on. If not, use more adhesive!
Step 3: Lay the batting on the floor, and lay the plywood foam-side down. Use the staple gun to tack down the batting. The front will look like this:
 And the back will look like this:
 Step 4: Do the same thing with the fabric. Here's what we picked:
Step 5: Hang it! We used a Z Hanger, which I highly recommend.

I apologize for the heinously crappy pictures. I'm hoping Santa brings me a new camera (or some Best Buy gift cards) for Christmas!
While this is a pretty simple project and ends up to be loads cheaper than purchasing a custom made headboard, it's not "cheap" by any means. Well, unless our versions of cheap are drastically different. But assuming you thought plywood was like $10 and foam was roughly the same, you're in for a bit of a shock. Here was our breakdown:
Plywood: $14.45 for a huge piece. They cut it for us in the store
18" Hangman Z Hanger: $11.97
2 Yards of Batting: $3.58 total
2" Thick Foam, 2.5 Yards: $36.21 total (this is the sale price - it's really $28.99 a yard!!!!!!)
2 Yards of Fabric: $29.98 total (sale price - real price is $30/yard)
Spray Adhesive: $6.99
We got everything at Joann Fabric, and happened to catch a HUGE sale. Foam and batting were 40% off and all of the fabric was 50% off. I also happened to have a coupon for an additional 10% off all regular and sale price items. Score.
The total out of pocket expense for the headboard materials was $103.18. My receipt says that I saved $76.32!! We could have scimped on the foam. Did we need 2 inch thick foam? No, but it looks nice and makes the headboard extra sturdy. Did we need upholstery fabric? No, but again, it's sturdy and reaaaaaaally looks nice.
So that's that. A custom headboard for an hour of time and $100 bucks! Anyone else build one of these suckers?


7 comments:
I really appreciate this. I think I may have to make one of these for my daughter next month while we are visiting. She hopes to trade to futon for a bed and I knew we could make the headboard. Thanks!
Your looks great!
Sue
Well, it came out gorgeous - that's for sure! I think that you did a great job!
I made a custom baby bumper set for a friend last year...and was SHOCKED at the price of foam too, so I'm glad to hear that I'm not alone!
Beautiful! Where did you get the upholstery fabric? I'm definitely thinking about doing this for our guest room.
I was shocked by the price of the foam I bought to stick cake pop sticks in... stupid!
looks nice! good job :)
I LOVE it!! Great job!
That is gorgeous. I've always wanted to attempt to make a tufted headboard myself. Hasn't happened yet. Ah ha
The information here is great. I will invite my friends here.
Thanks
Post a Comment